Step by Step Guide of a Wireless Network Installation
The Internet is a potent tool. It gives us access to all kinds of information at a moment’s notice, like email, Wikipedia, and Google search. So, there is something a little counterintuitive about only being able to use the Internet when you sit down at a computer. Some ways enable you to use the Internet from anywhere in your office or house.
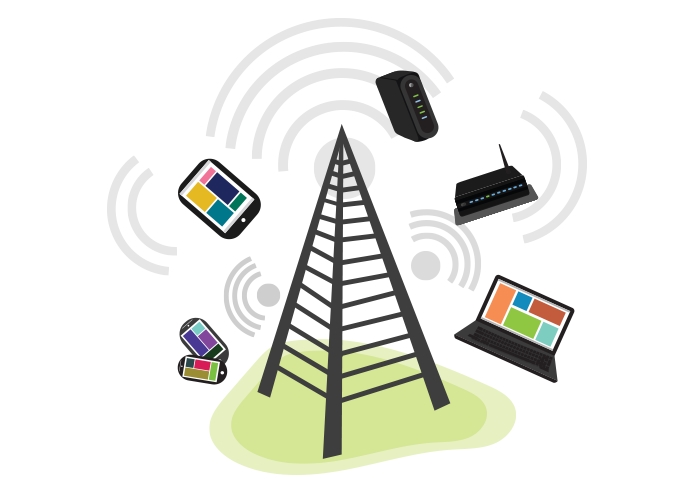
If you already have high-speed (broadband) Internet service at your home, it is pretty easy to create your own home wireless network. Commonly referred to as Wi-Fi, a wireless network allows you to connect smartphones, laptops, and other mobile gadgets to your home Internet service without an Ethernet cable.
A wireless network is excellent as it offers flexibility, fast and broad network coverage as compared to a broadband or ethernet cable connection. The following are steps on how to set up a wireless network:
Connect Your Router
The router is a gateway between the Internet and your home network.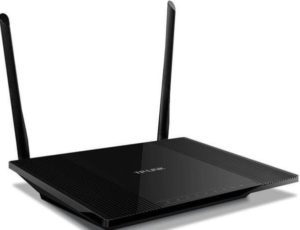 It is also how all the devices on your network communicate with one another. First, unplug or turn off the DSL modem or cable. Power your wireless router and connect the network cable that comes with it into the port on the router that is labeled “WAN” or “Internet.” Connect the other end to the wire and power up the modem. Do not attempt to connect many devices such as tablets or laptops until you have an excellent strong signal indicating a WAN connection on both the modem and the router.
Access the Router’s Interface and Shut it Down
The next step is getting into the router’s interface. It is done by connecting a laptop to the router and then accessing the interface via a browser. Routers ship with a default IP address, password, and administrator account. It enables you to change your laptop’s IP settings to match that of the router to connect to it for configuration. It allows the computer to communicate with the router so that you can access your router’s software for setup via the laptop. Connect your Ethernet cord to one of the LAN ports on the router and the other end to the Ethernet port of the device. From the left-hand window, click “Change adapter settings.”
Configure Security and Ip Addressing
After you have accessed the router, the next step is getting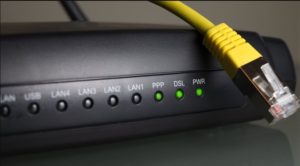 the security, SSID, and IP addressing settings right. Change the default admin password, then the router’s default SSID, then assign new security and finally set up an IP address.


